How to Install a Safe Box at Home Safely
Installing a safe box at home is one of the smartest decisions you can make to protect your valuables. Whether it’s important documents, jewelry, cash, or digital backups, a properly installed safe adds an extra layer of security. However, correct installation is just as important as choosing the right safe.
The first step is selecting the right location. Avoid obvious places like wardrobes or visible shelves. Instead, choose a hidden and low-traffic area such as inside a closet corner, under the stairs, or concealed behind furniture. For maximum protection, install the safe against a solid surface like concrete flooring or a structural wall. This prevents thieves from simply lifting and carrying it away.
Next, gather the necessary tools—usually a drill, masonry drill bits (for concrete), anchor bolts, measuring tape, and a level. Most modern safes come with pre-drilled holes for mounting. Position the safe where you want it installed and mark the drilling points clearly. Drill holes carefully and insert heavy-duty anchor bolts to secure the safe tightly to the floor or wall.
If you’re installing a wall safe, ensure it fits between wall studs and is mounted securely to the frame. For floor safes, bolting into concrete provides the strongest hold. After installation, test the stability by gently shaking the safe to confirm it doesn’t move.
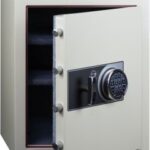
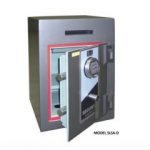
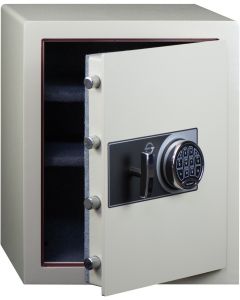
Finally, set up your locking system—whether digital, biometric, or key-based—and store the access information securely. Avoid sharing access codes with too many people.
A properly installed safe box not only protects your valuables but also gives you peace of mind. Take your time during installation, or consult a professional if needed, to ensure maximum security for your home.