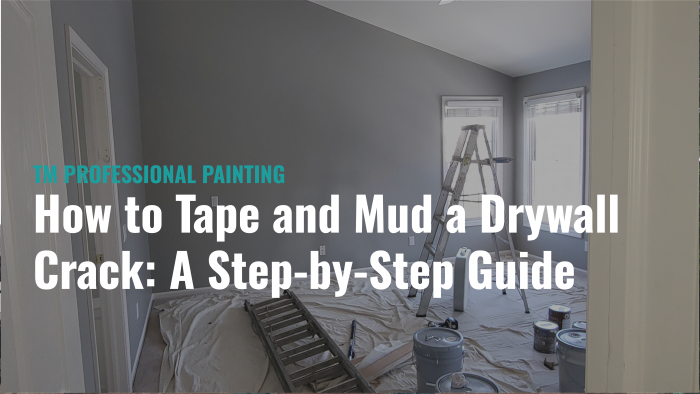
How to Tape and Mud a Drywall Crack: A Step-by-Step Guide for Homeowners
Drywall cracks are a common issue in many homes in Novi, MI, but the good news is that they can be easily repaired with the right tools and techniques. Taping and mudding a drywall crack is a simple and cost-effective way to restore the appearance of your walls. In this article, we’ll provide you with a step-by-step guide on how to tape and mud a drywall crack, so you can tackle this home improvement project with confidence.
Materials You’ll Need
Before you begin, gather the following materials:
- Mesh drywall tape
- Joint compound (mud)
- Putty knife
- Sandpaper
- Utility knife
- Paint and primer (optional)
Step 1: Prepare the Crack
- Clean the Area: Use a damp cloth to clean the crack and remove any dust, dirt, or loose particles. This will ensure better adhesion for the tape and mud.
- Create a Groove: Use a utility knife to widen the crack slightly, creating a V-shaped groove. This will allow the joint compound to adhere better and create a smoother finish.
Step 2: Apply the Tape
- Cut the Tape: Cut a piece of mesh drywall tape slightly longer than the crack. Mesh tape is preferred for its flexibility and ease of use.
- Position the Tape: Place the tape over the crack, ensuring that it is centered and covers the entire length of the groove.
- Embed the Tape: Use a putty knife to gently press the tape into the joint compound, ensuring it is fully embedded and there are no air bubbles underneath.
Step 3: Apply Joint Compound (Mud)
- Apply the First Coat: Using a putty knife, apply a thin layer of joint compound over the tape. Smooth it out and feather the edges to blend with the surrounding wall.
- Let it Dry: Allow the first coat of joint compound to dry completely as per the manufacturer’s instructions. This typically takes 24 hours.
- Apply Subsequent Coats: Apply two or three additional coats of joint compound, allowing each coat to dry and sanding in between, until the crack is no longer visible and the wall surface is smooth.
Step 4: Finishing Touches
- Sand the Surface: Once the final coat is dry, use fine-grit sandpaper to smooth the repaired area, blending it with the surrounding wall for a seamless finish.
- Prime and Paint (Optional): If necessary, prime the repaired area to ensure an even paint finish. Once the primer is dry, paint the wall to match the rest of the room.
Conclusion
Repairing drywall cracks with tape and mud is a manageable task for homeowners, and it can save you the cost of hiring a professional. By following these steps and taking your time, you can effectively