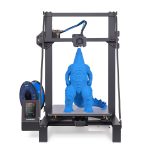
TwoTrees TTS-55
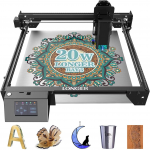
The Two Trees TTS-55 is a compact desktop diode laser powerful enough to cut 8mm thick lightweight plywood and engrave a wide variety of wood, leather, cardboard, acrylic and more. Similar to conventional power tools, you will need to purchase additional safety devices before operating the TTS-55. It does not have a fireproof base, nor does it have any ventilation.
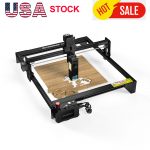
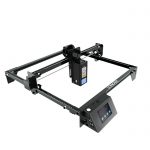
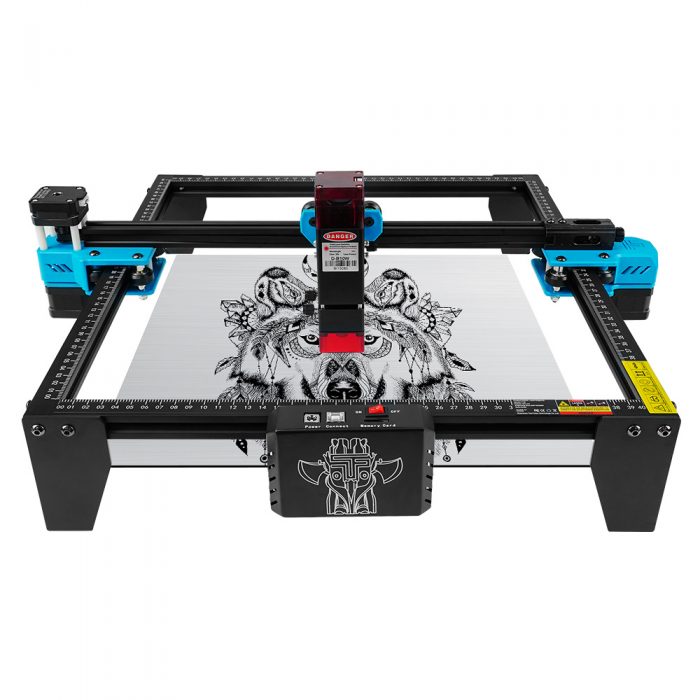
The laser is an open frame device with stepper motors mounted on the sides and belts to drive the X and Y motion. There’s no screen or buttons other than an on/off switch, so you’ll need to hook it up to a computer running software like LightBurn.
I tested the TTS-55 on a few common items – veneer, leather and bamboo cutting boards. The laser is an excellent performer, making dark burns effortlessly and cutting thin materials with ease. But it also ignited some cardboard and produced a lot of smoke.
The Two Trees laser engraver comes complete with tools to assemble the machine, a microSD card and adapter, and a pair of laser safety glasses (not shown). You also get a card stock sample and a blank wooden phone holder ready to be engraved. The microSD card contains a PDF copy of the manual, cutting and engraving files for various materials, and three sample images. It also has two software programs for operating the laser: LaserGRBL free and LightBurn 30-day free trial.
The TTS-55 is an open frame, 5 watt laser engraver constructed of extruded aluminum with bright blue plastic accents. It’s a simple machine with nowhere to hide cables – Two Trees keeps all the wiring neat and out of your way with plastic hoses that you can hold in place with cable tiles during installation.
This laser engraver features three stepper motors for smoother control – one for X movement and two for Y movement. However, the Y stepper motor hangs so low from the bottom of the frame that there is no room for material to pass underneath. You can elevate the frame with blocks under your feet, but it’s best to only use materials that fit a 300×300 frame. You can purchase an optional extension kit to increase the cutting area of the machine to 400×420 mm.
There are no screens or controls on this machine, just an on/off switch. The Two Trees TTS-55 must be used connected to a PC running software such as Laser GRLB or LightBurn, or operated over Wi-Fi using the optional mobile phone app. I only tested the laser with a PC laptop because the Wi-Fi in my workshop was spotty.
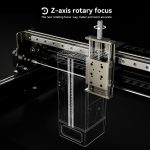
You need perfect focus to get sharp lines with a laser, and that focus is achieved with the help of metal spacers. The spacers are 23mm high and the laser needs to be at the exact height of the surface you want to engrave. Slide the spacer between the laser and the object to be engraved or cut, then use the knob to adjust the height.
Lasers can process objects as thin as paper and as thick as 5.5 centimeters. If you need to engrave thicker items, you can place the machine on a block (if you provide it).
One thing I found odd was the lack of programming to send the laser home – this would reset the machine coordinates to 0,0. Instead of entering a command, you turn the machine off, pull the carriage to the lower left corner of the frame, and turn it back on.
There is no exhaust fan on the Two Trees TTS-55 and it can smoke, especially when burning test patterns. You will definitely need to use an exhaust fan or run it with the garage door open.
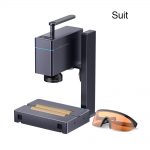
Safety is a major concern when operating laser equipment. Two Trees include a clear shield attached to the laser module to prevent you from looking directly into the laser beam.
The Two Trees TTS-55 arrives in a kit and requires assembly – and a little patience. Assembly should only take about 30 minutes, but that doesn’t include the time I spent rebuilding the machine after I found out I had it assembled the wrong way.
It would have saved a lot of time if Two Trees had mentioned somewhere in the packaging that they posted a great assembly video on YouTube.
The pulley block is already installed on the X-axis and the timing belt is pre-threaded. The first thing I did was assemble the rest of the frame by bolting the two Y axes to the X axes, forming a square.